MaQs Packing_Using Online Check List |
|


The person printing the label for the tray will usually be the person who packs the tray, so after clicking 'Packing', MaQS will ask for valid credentials to be entered before the item selection screen can be used. Pack labels can be printed using either the Single Printing or Batch Printing mode.

If Use Online Check List box is ticked in the 'Hospital Site' settings in MaQS Admin module, please follow the instruction below. Otherwise, please go to 'Packing without using Online Check List'

Performing a Single Printing: The Single Printing option will allow one or more labels of the same pack to be printed before another pack can be selected for printing.

1. Select Single Printing. |
|
||||||
2. Searching by pack details or instrument details. |
|
||||||
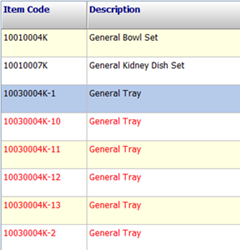
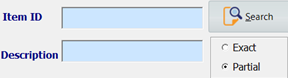
3. Enter the keywords, then click search button.
* Packs that match the search criteria will be listed using one of three possible font colors:
|
|
||||||
4a. Double click the record in the grid to print a label. Or |
|
||||||
4b. Highlight the record, select priority and quantity, then click Print button. |
|


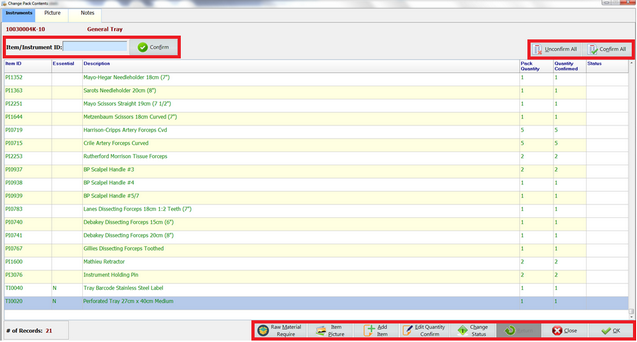
If there are more than one instrument in the tray, it will direct to 'change pack contents' window.

|
Search instrument within the grid |
|
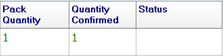
Confirm or unconfirm the pack contents |
|
Quantity of instrument in the current pack |
|
Check the request raw material for the current pack |
|
Check the item picture for the current pack |
|
Add instruments to the current pack |
|
Update quantities for each instrument in the current pack |
|
Change instrument status for the current pack (remove instrument or instrument to be repaired) |
|
Return removed or repaired instruments back to the current pack |
|
Close the form |
|
Click OK to proceed |


1a. If the quantities are confirmed, then click ok to print. Or |
|
1b. Use the certain button to check details or make changes |
|
2. Click OK to proceed. |
|


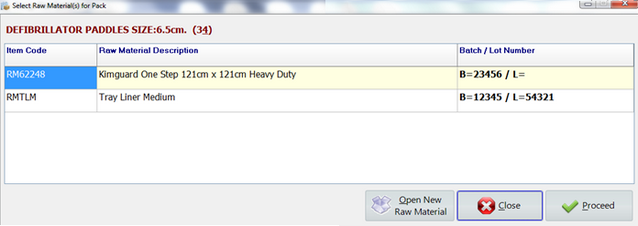
If 'prompt raw material' box is ticked, it will direct to 'select raw materials for pack' window. Otherwise, it will print the label.

|
Open a new pack of raw material |
|
Click to close the form |
|
Click to print the label |


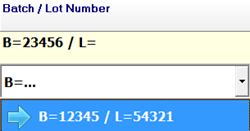
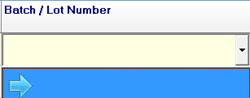
1. Select raw material from the drop down box. |
|
2. If there is no available raw material in the drop down list, then
|
|
2a. Click 'Open New Raw Material' |
|


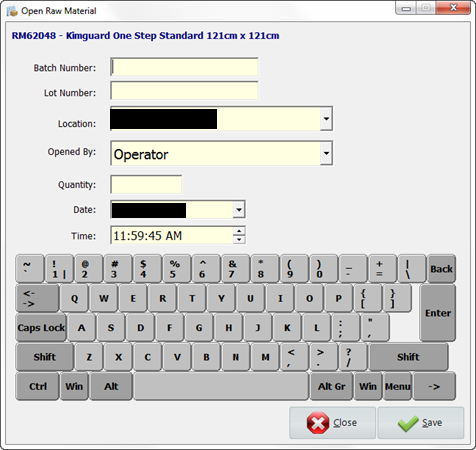
Batch Number |
Batch number of the new raw material pack. |
Lot Number |
Lot number of the new raw material pack. |
Location |
The location where the raw material used for. |
Opened By |
The operator to open the new raw material pack. |
Quantity |
Quantities of raw material in the new pack. |
Date |
Date to open the new raw material pack. |
Time |
Time to open the new raw material pack. |
Fill the raw material detail for new raw material and click save to confirm.
1. Fill the raw material detail for new raw material and click save to confirm. |
|
2. Click proceed to print the label
|
|


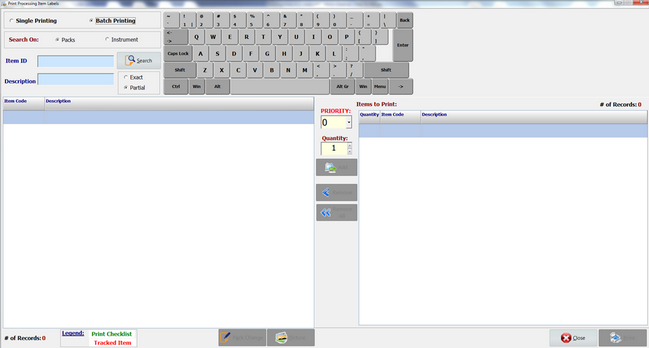
Performing a Batch Printing: The Batch Printing option allows multiple packs with vary quantities to be selected and then printed in one batch.
|
Add a pack to batch printing list |
|
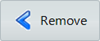
Remove a pack from batch printing list |
|
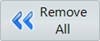
Remove all packs from batch printing list |

1. Select Batch Printing. |
|
||||||
2. Searching by pack details or instrument details. |
|
||||||
3. Enter the keywords, then click search button.
* Packs that match the search criteria will be listed using one of three possible font colors:
|
|
||||||
4a. Double click the record to add the pack to batch print list. Or |
|
||||||
4b. Highlight the record, select priority and quantity, then click Print button to add the pack to batch print list. |
|


If there are more than one instrument in the tray, it will direct to 'change pack contents' window.
|
Search instrument within the grid |
|
Confirm or unconfirm the pack contents |
|
Quantity of instrument in the current pack |
|
Check the request raw material for the current pack |
|
Check the item picture for the current pack |
|
Add instruments to the current pack |
|
Update quantities for each instrument in the current pack |
|
Change instrument status for the current pack (remove instrument or instrument to be repaired) |
|
Return removed or repaired instruments back to the current pack |
|
Close the form |
|
Click OK to proceed |


1a. If the quantities are confirmed, then click ok to print. Or |
|
1b. Use the certain button to check details or make changes |
|
2. Click OK to proceed. |
|


If 'prompt raw material' box is ticked, it will direct to 'select raw materials for pack' window. Otherwise, it will add the pack to batch print list.


|
Open a new pack of raw material |
|
Click to close the form |
|
Click to add the pack to batch print list |


1. Select raw material from the drop down box. |
|
2. If there is no available raw material in the drop down list, then
|
|
2a. Click 'Open New Raw Material' |
|

Batch Number |
Batch number of the new raw material pack. |
Lot Number |
Lot number of the new raw material pack. |
Location |
The location where the raw material used for. |
Opened By |
The operator to open the new raw material pack. |
Quantity |
Quantities of raw material in the new pack. |
Date |
Date to open the new raw material pack. |
Time |
Time to open the new raw material pack. |
1. Fill the raw material detail for new raw material and click save to confirm. |
|
2. Click proceed to add the pack to batch print list. |
|
3. Click print to print all labels in the batch. |
|